


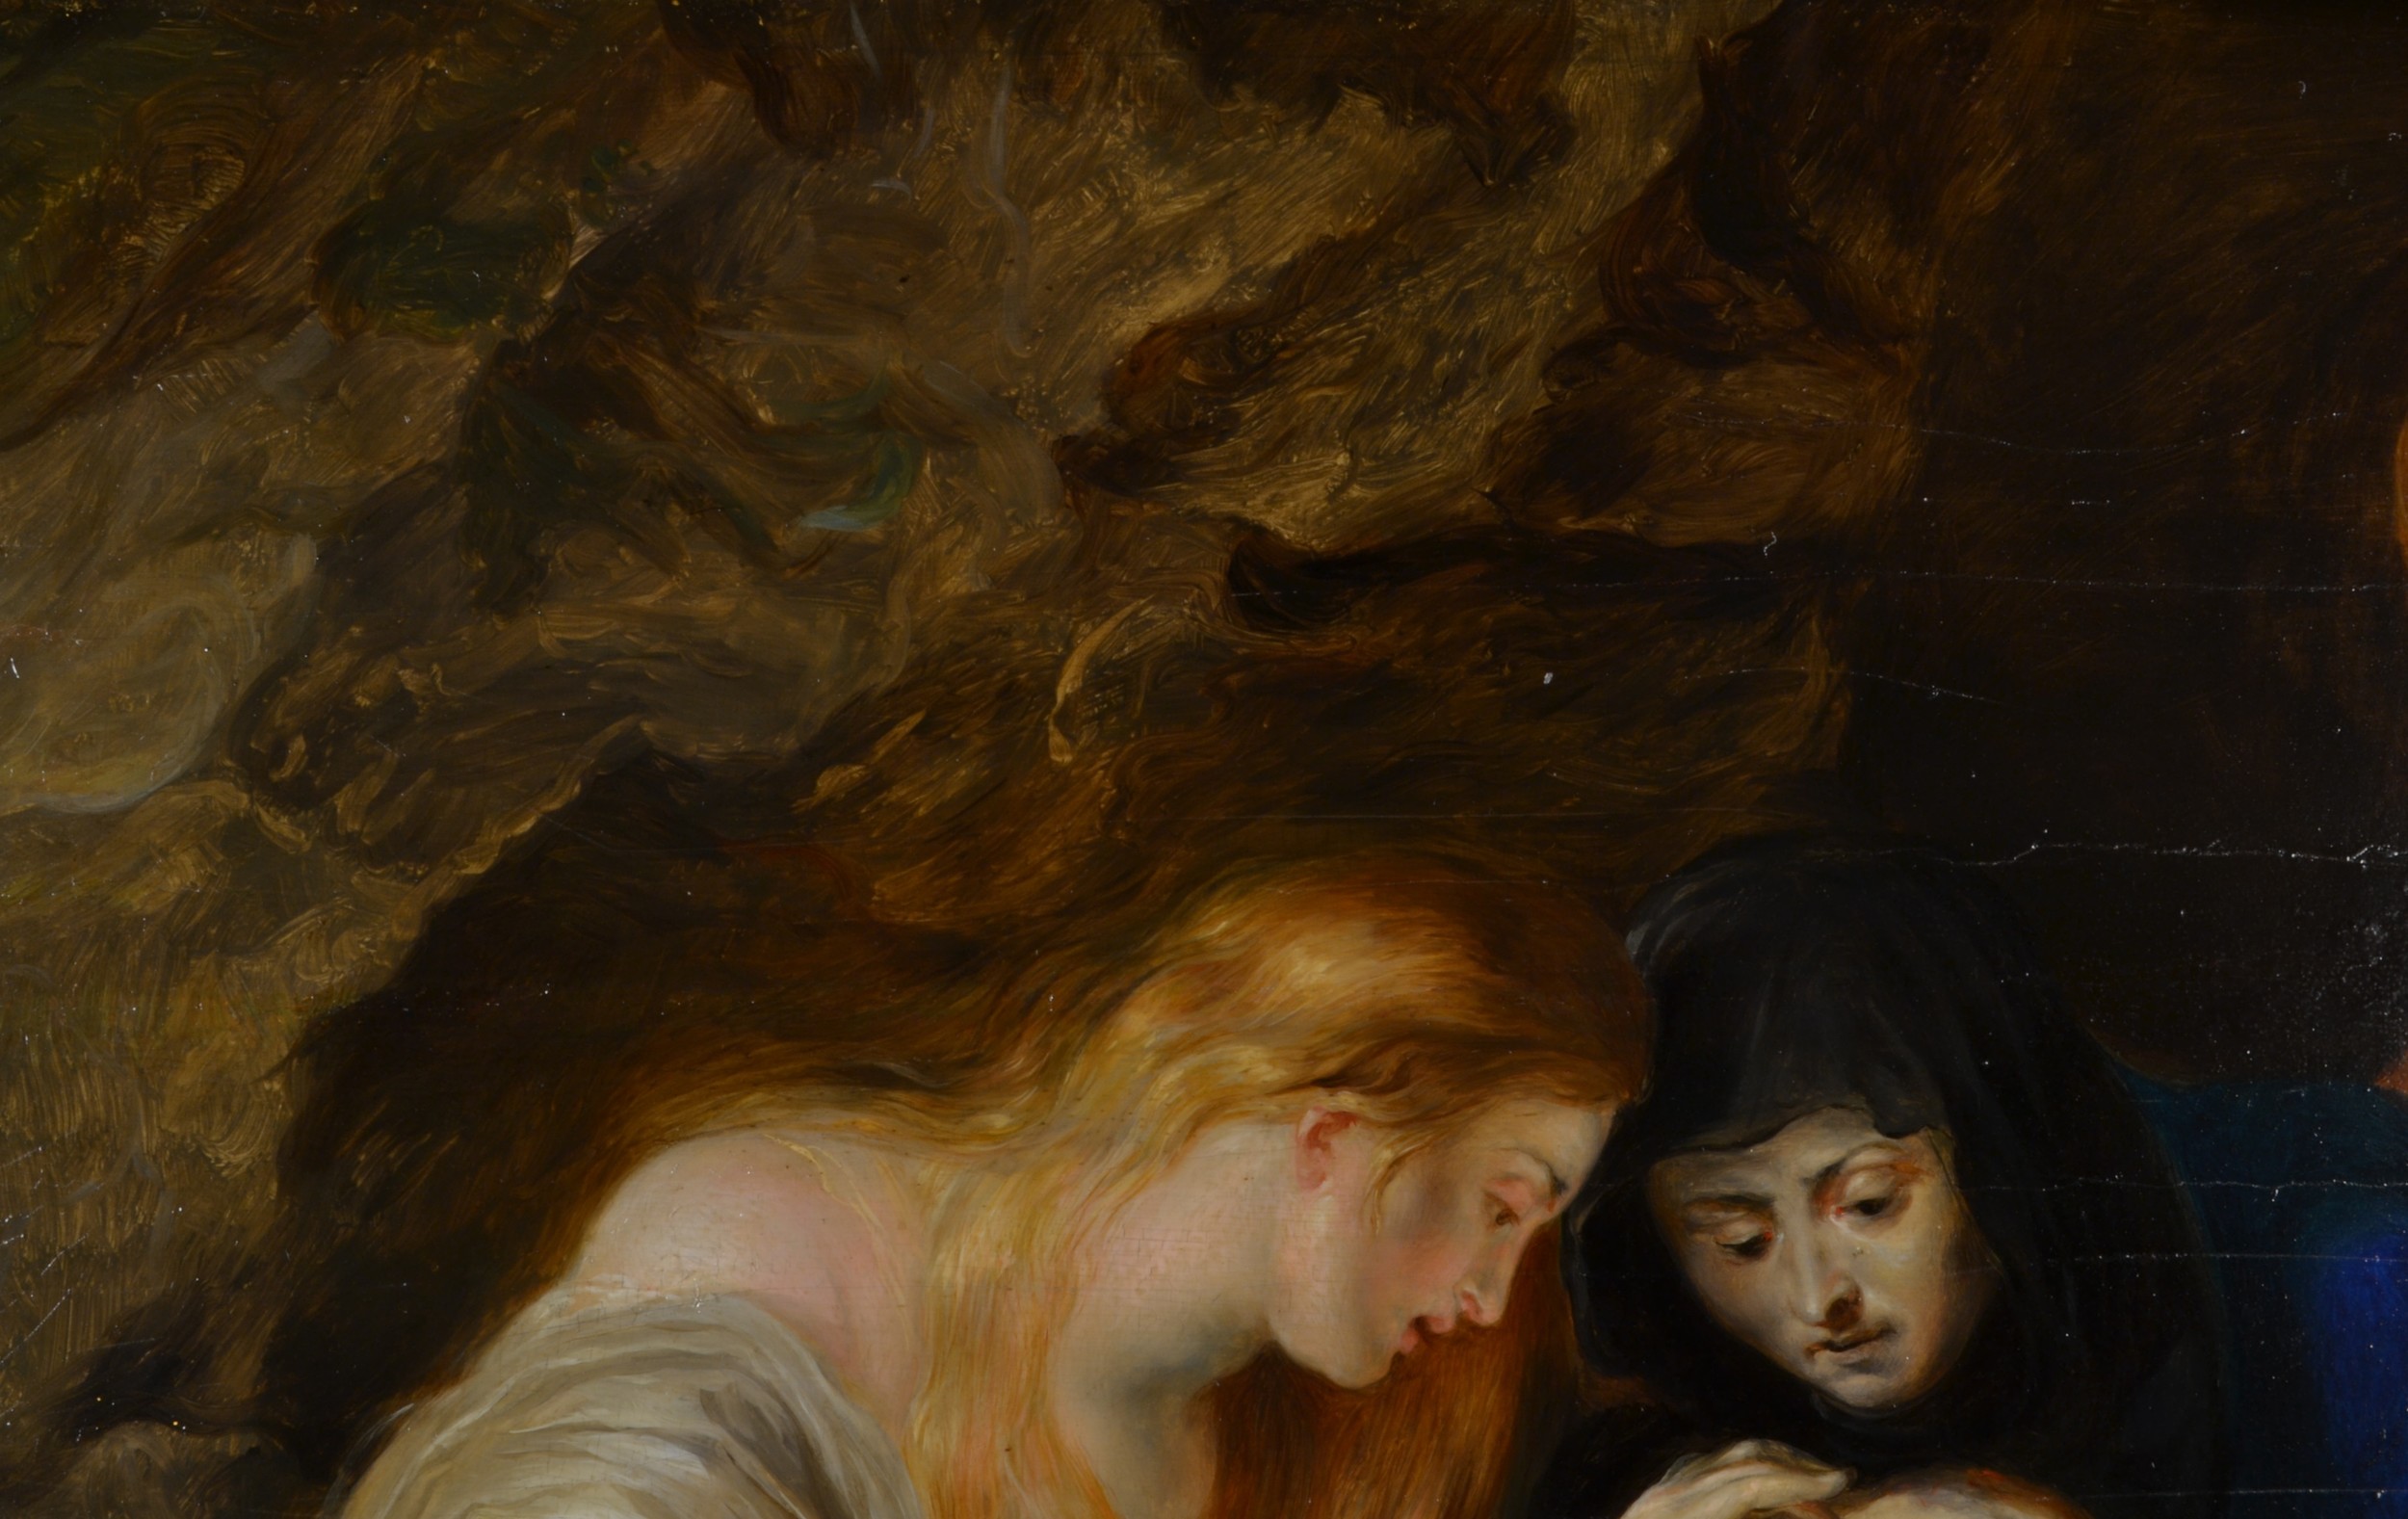
Before Treatment

Before - Reverse side of panel
Brought to The Center by a private client, this panel painting was exhibiting age related issues, exacerbated by the panel support and intricate cradle. There were a number of hairline losses to the paint and gesso layer, with raised edges along the cracks. Numerous cracks were throughout the surface. Some of the cracks were as a result of the stress in the panel.
Following the cracks under a microscope, areas of gesso could be observed to move when the surface was gently pressed. This indicates that the gesso layer had deliminated from the wood. If not treated, a loss area would develop in the future. That is why it was important to examine the condition of the gesso and paint layer at a distance of one half inch over the entire surface of the painting.
The aged varnish looked dull, and had many micro-cracks. Because of this, the varnish had lost its translucency. There were a few areas with old inpaint that no longer matched the surrounding paint.
The first step in treatment was to remove grime from the surface. The second step was to stailize the paint and gesso layers using an old technique that is still the best option for this type of problem. A solution of sturgeon glue in water was applied directly over the cracks or areas with deliminated gesso. Thin Japanese tissue paper was laid over the adhesive in order to protect the surface while gently warming the areas being re-adhered, using a small tacking iron at a very low temperature. There are two purposes in doing this: to penetrate the adhesive deeper into the structure; and to dry the surface quicker. Light, delicate weights were placed on these areas for a few days after applying the sturgeon glue.


After making sure the gesso and paint layer had stabilized, the next step was to treat the old varnish. Sometimes old varnish is removed, and at other times it is thinned, depending on the quality, type, and condition of the old varnish. In this case, it was decided to thin the old varnish for aesthetic reasons. The varnish was not too yellowed, nor too thick; as the varnish was not completely removed, the retained varnish is still able to reflect the age of the painting.
While thinning the layer using solvents, the varnish is reformed. This means that micro cracks are melted back together, thus returning transparency to the varnish. This is only possible with natural resin varnishes.


After Treatment

After - Reverse side of panel
The next step was to fill the losses to the gesso and paint layer with a compound of sturgeon glue and calcium carbonate. Upon drying, all the fills are leveled and textured. A thin coat of varnish was applied to refresh the surface and seal the fills. Inpainting was preformed with a very small brush and, as standard practice, using conservation grade paints. There was a great deal of loss along the hairline cracks. Such types of losses take more time to inpaint because the tonality of the paint layer changes throughout a loss. The process of inpainting is done one dot at a time. Lastly, a very fine layer of varnish was sprayed onto the surface to unity the piece together.
